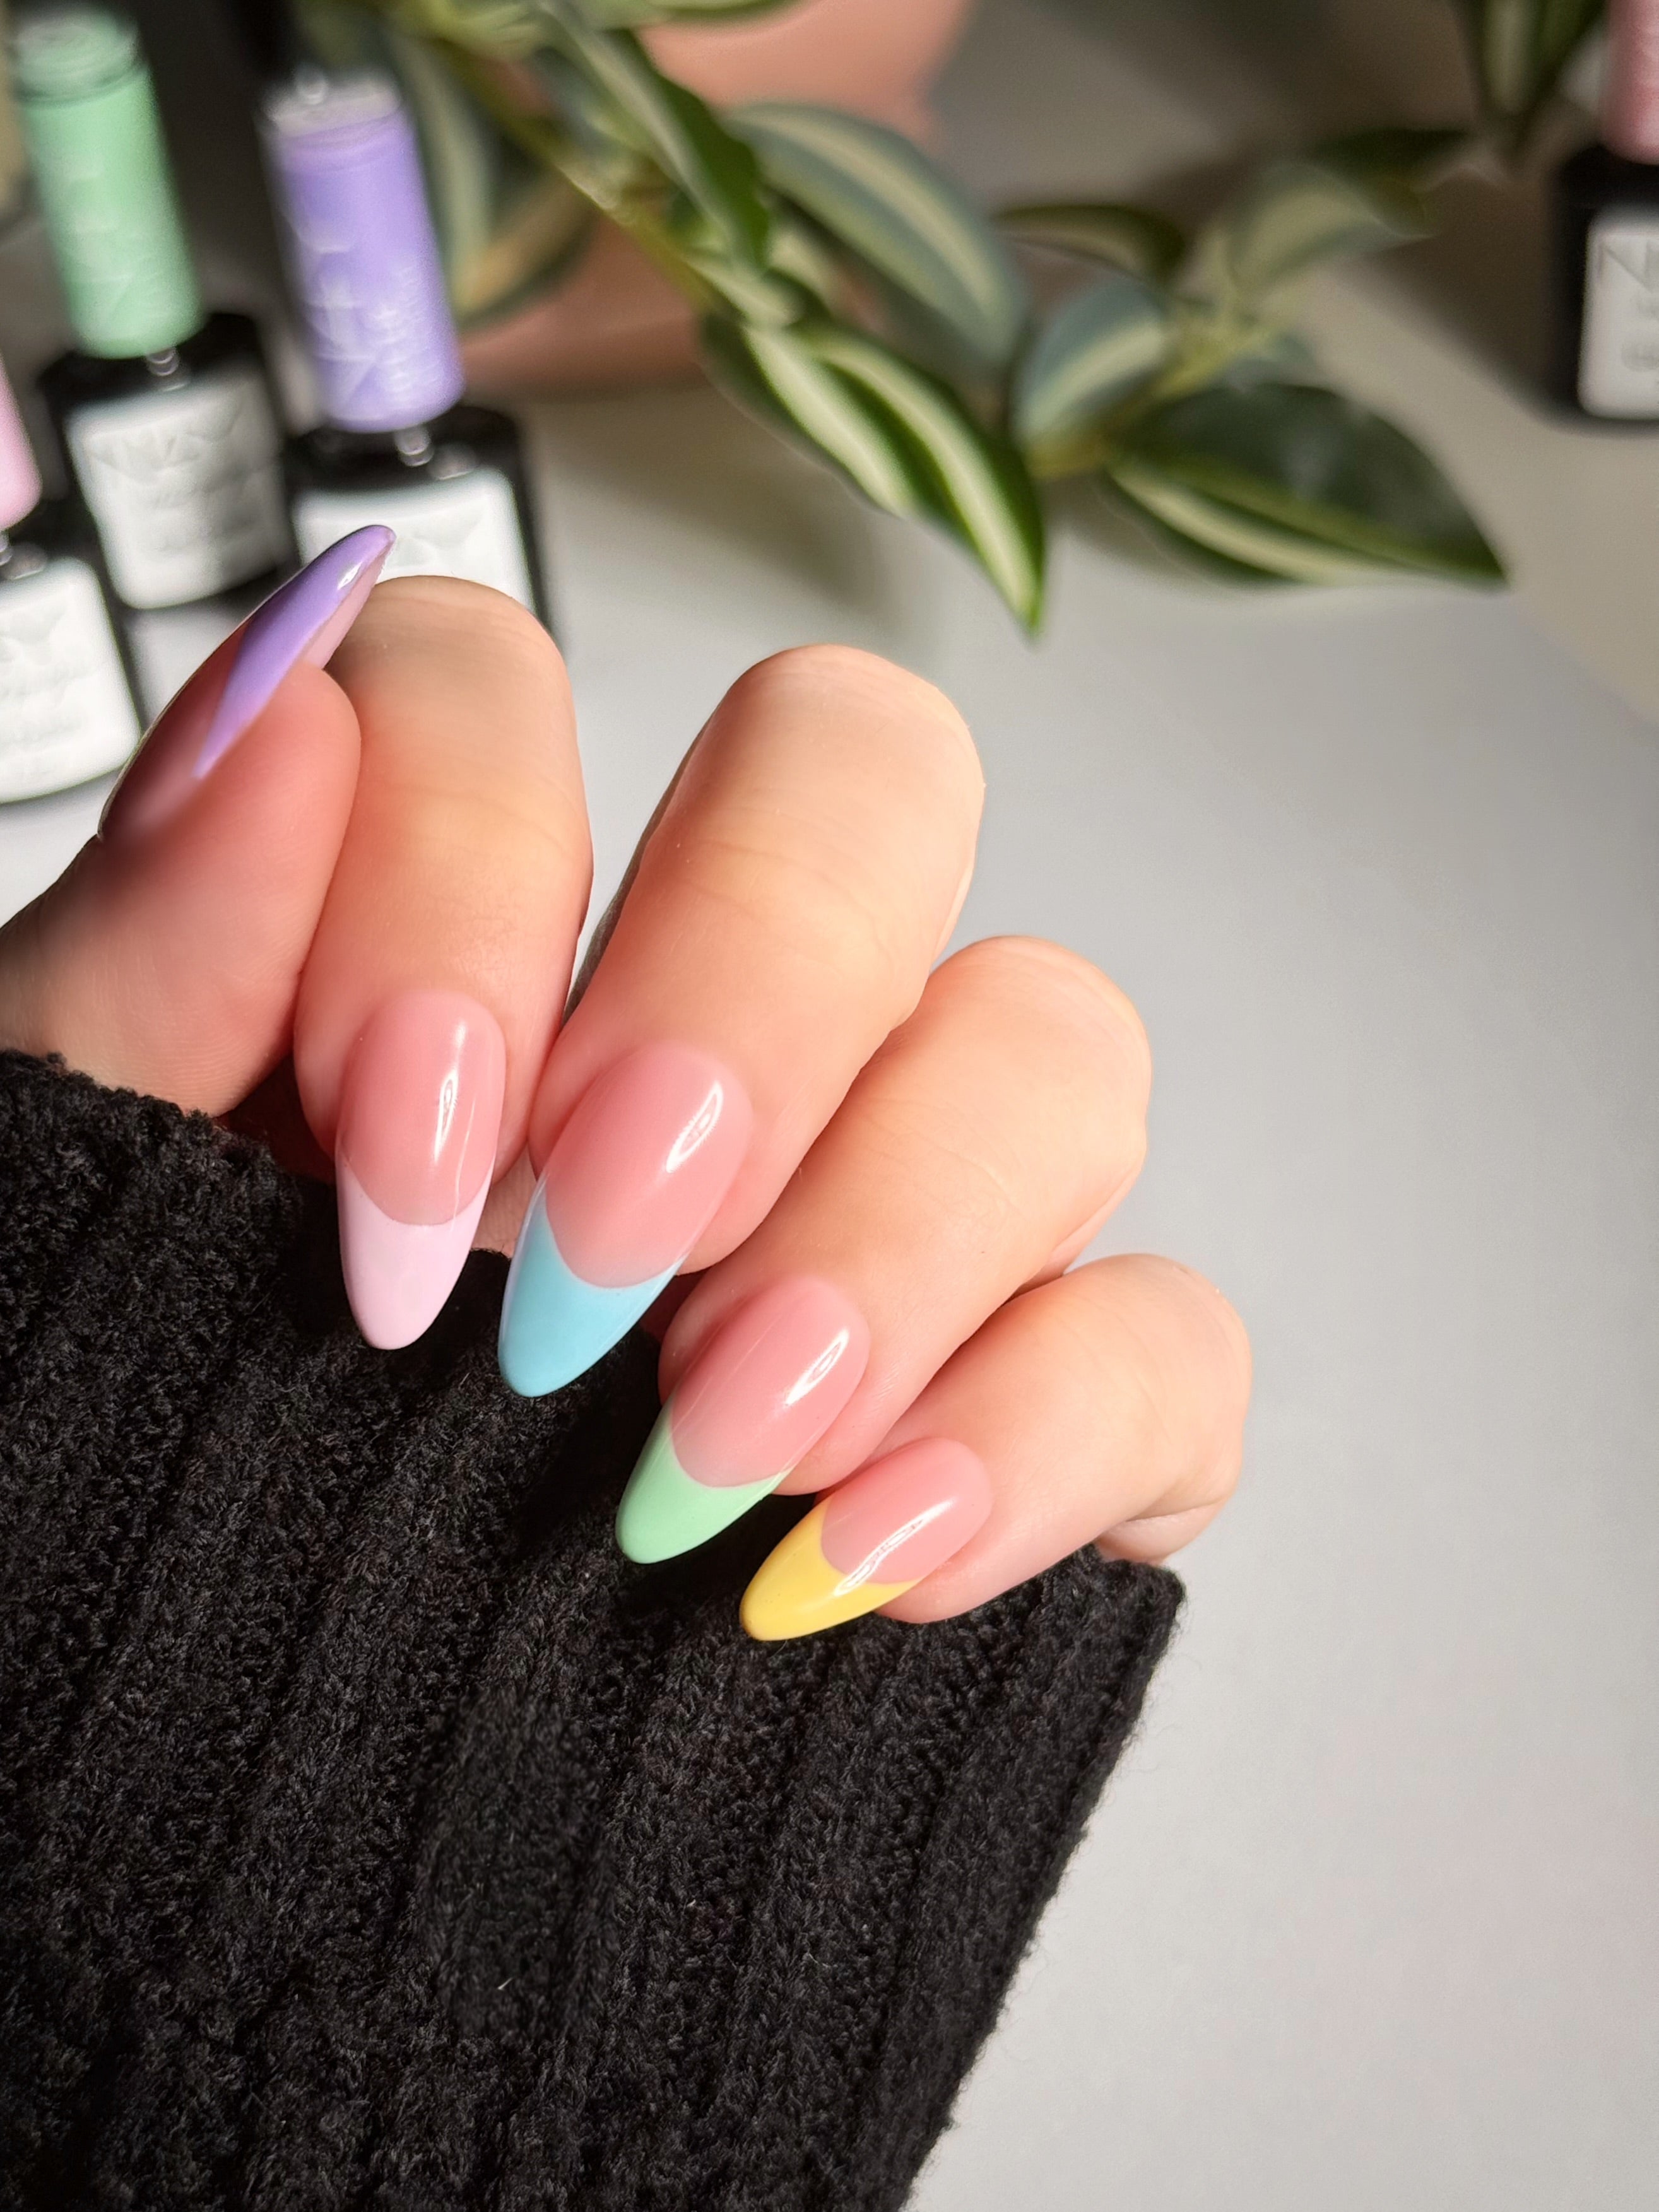
Guide: How to do a French manicure
If you don't yet have the courage to venture into colorful nails or patterned designs, a simple French manicure is the perfect way to freshen up your nails. It is not without reason that the French manicure has been a favorite worldwide for several decades. The chic and natural expression that the nails radiate as soon as they are shown cannot be denied - they complete any outfit regardless of the occasion.
What is a French manicure?
A French manicure, also called French nails, is characterized by its timeless, classic and clean expression. The nails are varnished with just 3 types of varnish: a pink one for the base, a white one for the tips and a top coat as the final finish. A manicure is done on the hands, but you can also do a French manicure on the feet - in this case it's simply called a French pedicure, as pedicure is the care of the feet and toenails. If you don't like long nails, you can easily do a French manicure on short nails. Regardless of whether you have long or short nails, you end up with a nice and presentable result. If you have a passion for nails, the French manicure will certainly be to your taste.
The difference between a manicure and a French manicure
Have you also wondered what the difference between a manicure and a French manicure is? Don't worry, you're not the first. The difference lies in the fact that a manicure is a nurturing treatment for hands and nails, where nails are cut, filed and the cuticle fixed, while the hands are finally massaged with an oil or hand cream. French manicure goes one step further. Here, a pink, nude or transparent varnish is typically applied, ending with the characteristic white tip of the nail.
You need this to create beautiful French nails
You are now just a few steps away from being the lucky owner of a set of glossy French nails. Once you've learned the technique, it won't be long before you can perform the most beautiful French manicure on yourself and your friends. It is completely natural to set aside extra time the first few times, and therefore it is obvious to create a cozy atmosphere when you are ready with all your nail equipment at home in the living room. Some choose to do a French manicure in shellac, but this step-by-step guide is based on gel polish.
Here's a breakdown of what you'll need to create a set of beautiful French nails at home:
- Cuticle scissors
- Nail file
- Buffer
- Cuticle pusher
- UV led lamp
- Base coat
- Pink varnish
- White lacquer
- Top coat
- Angled brush or French manicure pen
- Nail oil
- Possibly. hand cream
Instead of buying gel polish separately, you can instead make it easy and choose our French manicure nail polish set - this way you save both time and money.
That's how easy it is to do a French manicure
The way to irresistible French nails is first and foremost well-kept hands. That's why every treatment starts with a simple manicure. At Nail4You you will find everything you need in nail care and manicure. The manicure should be seen as the foundation for the French nails. As soon as you have mastered the basics, you can safely and easily move on to applying gel polish as the final element.
Here's our step-by-step guide to performing a professional gel polish French manicure:
- Manicure: Cut and file the nails to the desired shape, and make sure to remove dry or dead skin around the nails and cuticles with cuticle scissors. Gently push the cuticle back.
- Applying the base coat: Before applying your base coat, you should clean each nail of dirt and grime. Use possibly a cleaning wipe. Afterwards, you apply 1-2 layers of basecoat, which must cure for 30 seconds in the UV lamp.
- First layer of gel polish: Now it's finally time to apply the base color, which is typically pink or nude. Start by applying one layer to the entire nail, which is cured for 30 seconds in UV light. If you want another layer, repeat this step.
- White tips: The icing on the cake is of course the white nail tips. Using a brush, gently draw a sharp white border, which is allowed to cure for 30 seconds. You can also choose to use a manicure pen to create the perfect French border.
- Finish with topcoat: To leave

