
How do you make press-on nails?
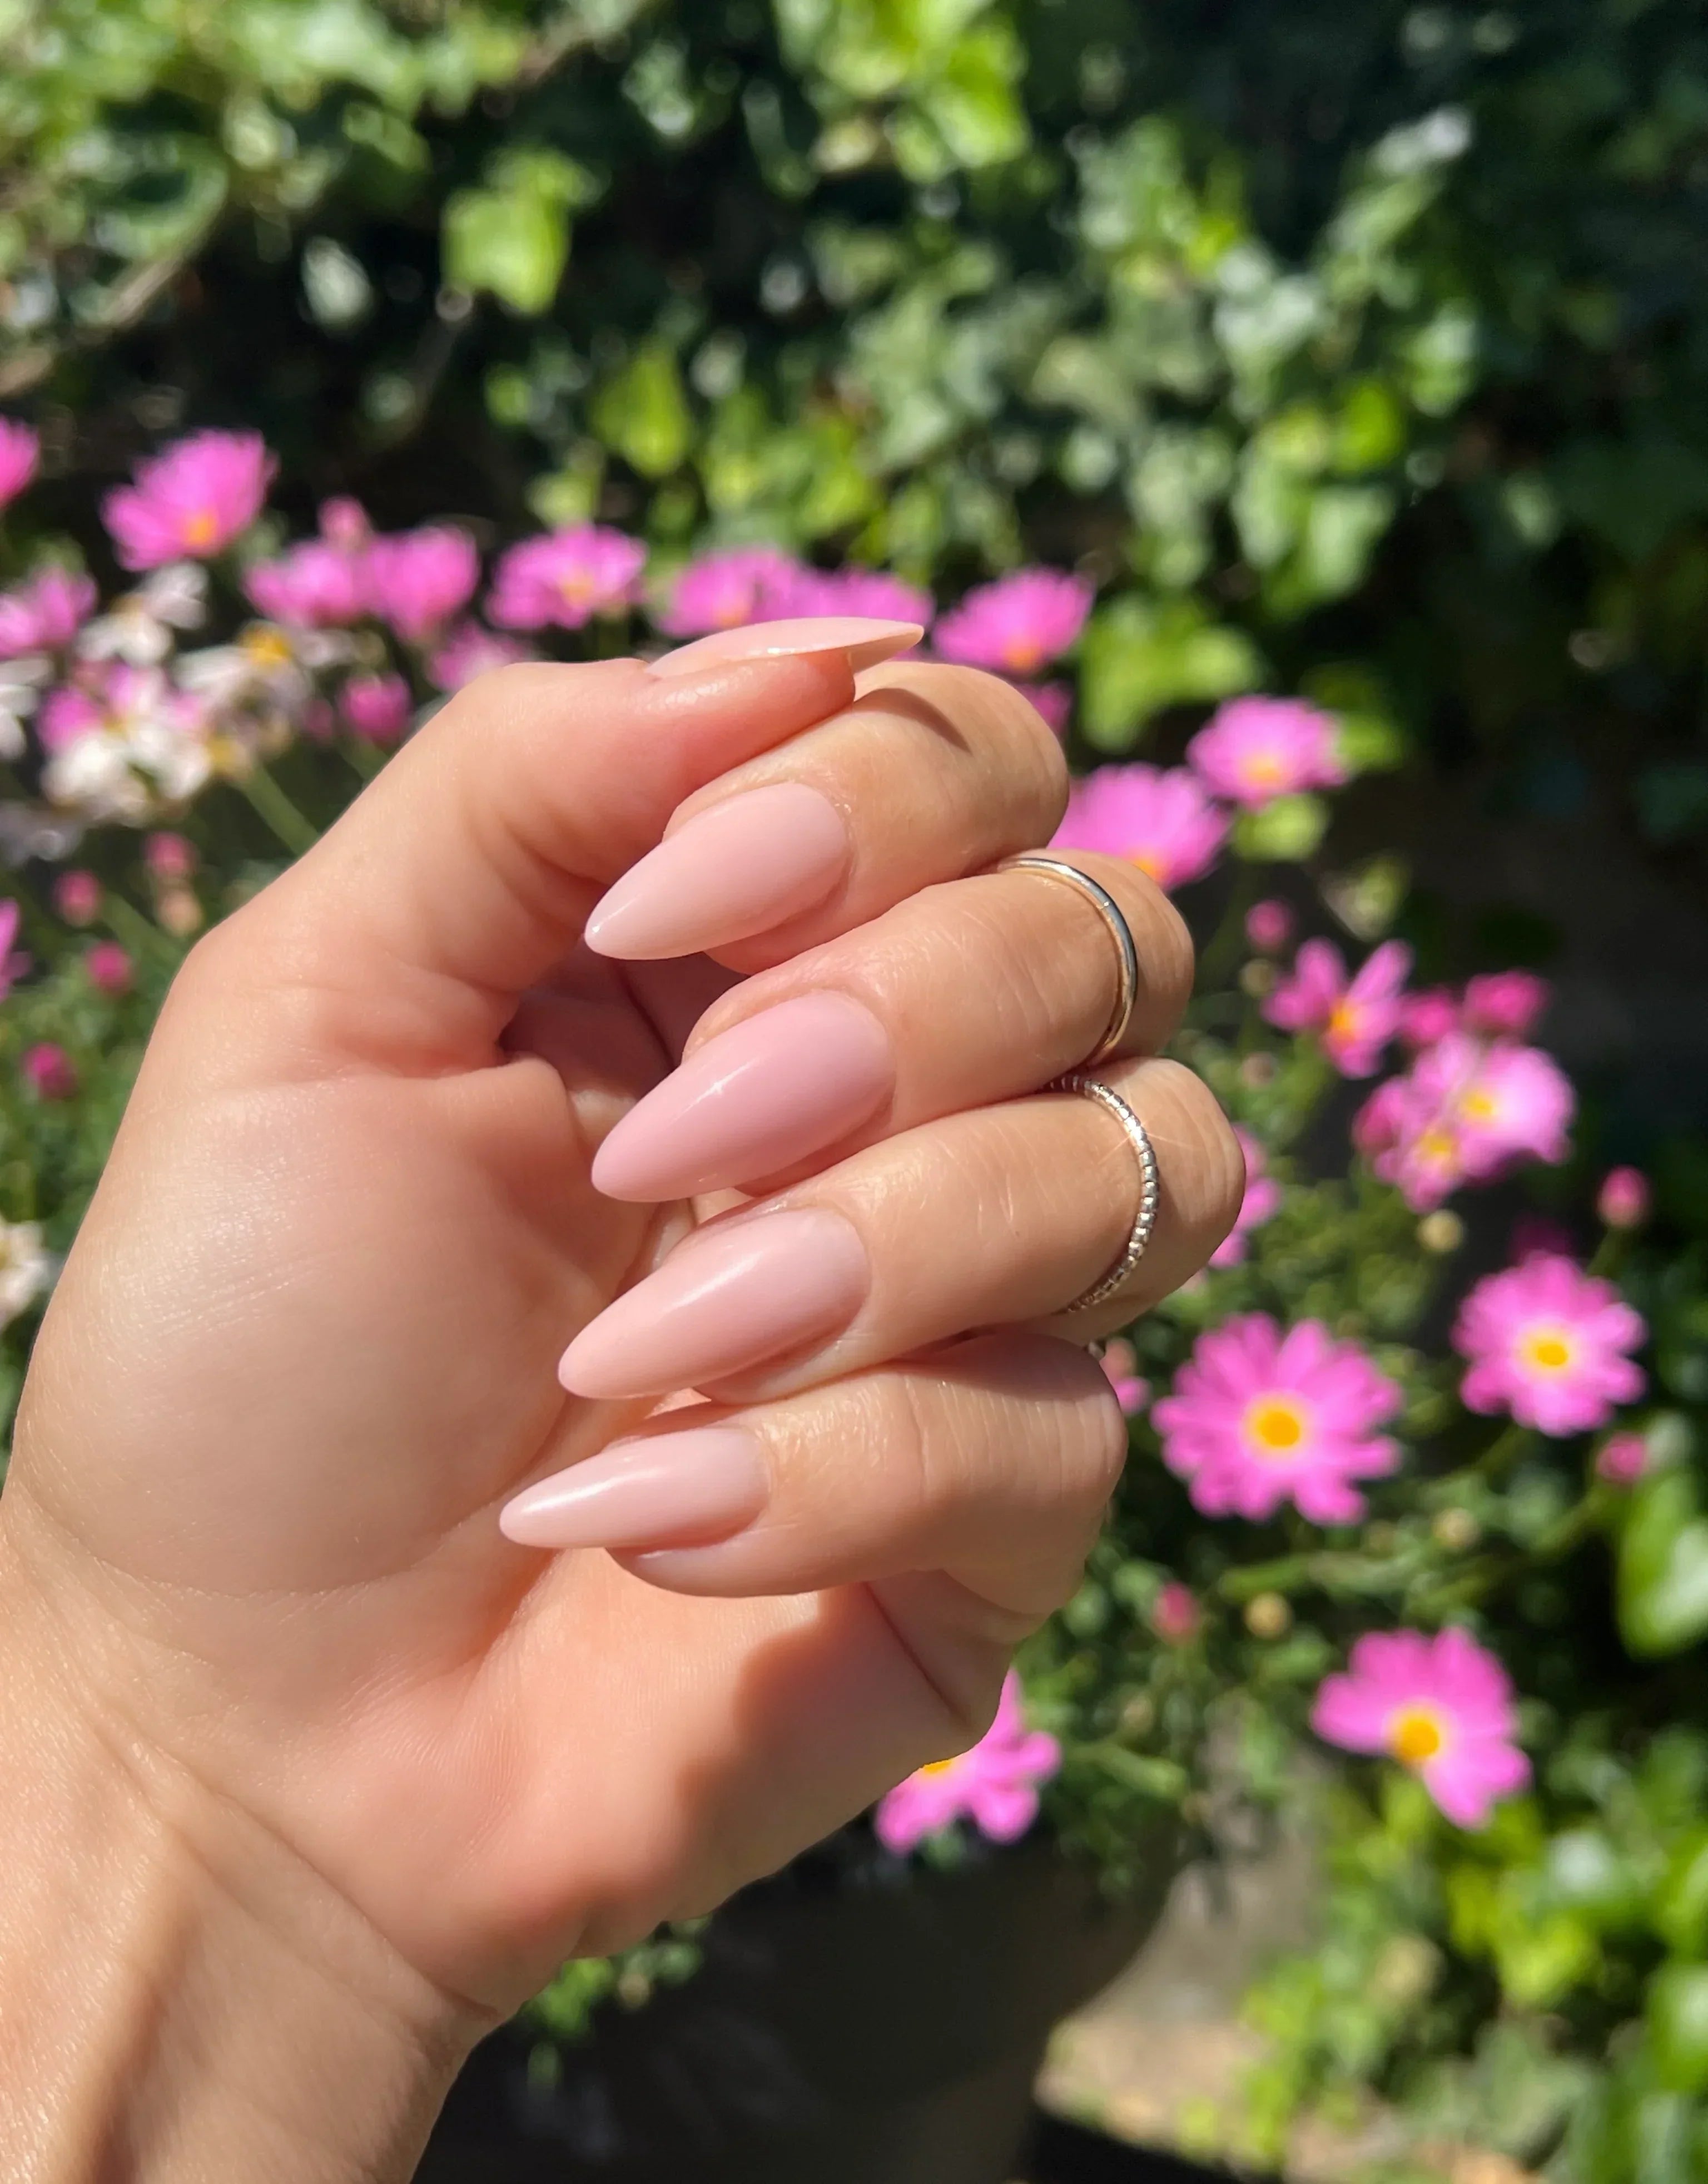
Press-on nails are applied by prepping the nail, securing the tip with tip glue, curing it in a UV/LED lamp, and filing it into shape. Below, you'll find the complete step-by-step guide.
Press-on nails, also known as false nails, are a durable and super easy nail system you can do at home. The system is often used for nail extension or reinforcement, allowing you to quickly achieve a beautiful and professional look.
What you'll need
If you're a beginner, it's important to have all the necessary nail products listed below. To save money, it might be a good idea to buy our press-on nail starter kit, which includes all products, including gel polish.
You'll need these products for the treatment:
- 1 x LED/UV lamp
- 1 x box of 100 press-on tips
- 1 x clamps
- 1 x tip glue
- 2 x N4Y buffer
- 3 x N4Y file
- 1 x cuticle pusher
- 1 x cuticle nippers
- 1 x Wipe off pads
- 1 x gel wipe
If you want to use gel polish instead of regular nail polish, you'll also need:
- 1 x base coat
- 1 x gel polish color
- 1 x no wipe top coat
If you buy the starter kit, these products are already included. Remember that you can easily use the system directly on your natural nails if you don't want an extension but simply a beautiful and durable color.
How to apply press-on nails
By following this guide, you'll quickly achieve beautiful, durable nails tailored to your taste.
- Clean the entire nail with gel wipe.
- Push back the cuticles with a cuticle pusher.
- Trim excess cuticles with your cuticle nippers.
- Buff the entire nail with your buffer.
- Brush away filing dust so the nail is free of excess product.
- Prepare the tips to fit your natural nails.
- Clean the nail for grease and oil with a pad and gel wipe.
- Apply tip glue and place the tip on your natural nail.
- Hold the nail in the lamp and cure the tip glue. With our wireless press-on LED lamp, it only takes 30 seconds – and because it's wireless, you can easily take it with you. If you use a regular UV/LED lamp, cure for 60 seconds.
- File your press-on nails into the desired shape and length.
- Apply your regular nail polish or gel polish.
If you choose gel polish, you can follow our detailed guide on how to apply gel polish nails. After trying the system a few times, it will become quicker and easier as you get used to the treatment.
You'll get the desired look and strength without compromising your natural nails – and you can experiment with different styles and designs while your nails remain healthy and well-maintained throughout.
Frequently asked questions about press-on nails
How long do press-on nails last?
Properly applied with tip glue, press-on nails typically last 1-2 weeks. Durability depends on good prep and ensuring the glue covers the entire nail.
Do press-on nails damage your nails?
No, not when applied and removed correctly. Damage only occurs if you pull or pick them off – always soften the glue first. See our guide on how to remove nail glue gently.
Can you use press-ons on natural nails without extension?
Yes. You can easily use the system directly on your natural nails if you just want a durable color without extending them.
How do you remove press-on nails?
Soak your hands in warm, soapy water and gently push the tip off – never pull or pick, as this can damage the nail.

